MCBC Community What to Pack for a Bikepacking Adventure
Our Policy & Planning Director, Warren Wells shares how he packs for his bike packing adventures. If you’d like to share your story, adventures, or knowledge with the MCBC community, please email lynn@www.marinbike.org
In this post I’m going to run through what I pack when I go for a bikepacking weekend. This list was just for an overnight trip, but a two- or three-night trip would be pretty similar, albeit with more food. I’m providing links to some of the products that I use, but there’s nothing special about any of them – you can likely make do with much of what you already own. At its heart, bikepacking is just offroad biking + camping, so if you already do those two things, you’ll be right at home.
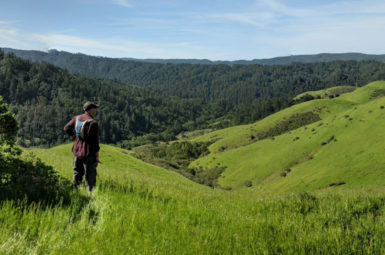
The trip
Day 1:
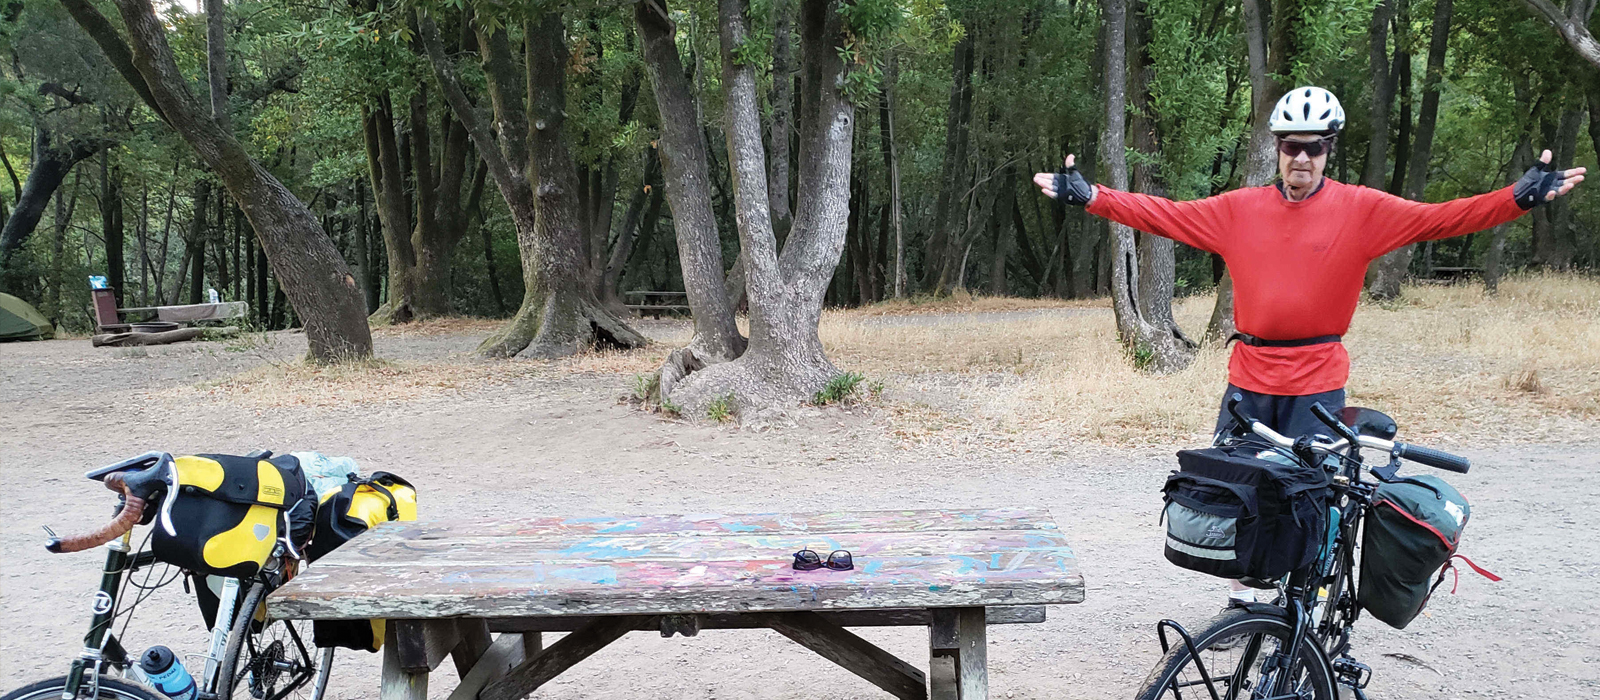
Day 2:
East Bay Dirt Tour – Day 2 – An Abbreviated Route
How to carry everything
The perennial question in bikepacking is whether to use racks and panniers or whether to use handlebar and seat post bags. But the truth is, there’s no right answer! My setup is a bit more aero than panniers and I can fit through narrower spaces on singletrack, but I can’t carry as much and it’s harder to open and close on the go.
My recommendation would be to start with what you already have, try out a couple nights, and then go from there.
Getting set up
Your first bikepacking trip will take a while to get set up for. Figuring out what needs to go in which bag will take a bit of fiddling, but after trip number two or three you’ll have things ironed out. These days it takes me about 45 minutes to get everything packed and loaded on the bike. Check out a short video here!
Packing list
Below is the list of the things that I typically bring.
Bags
-
Half frame bag – Does not need to be custom fit for your bike. This brand, Revelate, is sold at REI, and makes several different sizes. You should be able to find one for your bike barring any weird geometry. I keep a repair kit and extra layers in here.
-
Handlebar bag for snacks – This is a must. This is where I keep snacks and my cell phone handy. I’ve got a couple from different bag makers, but in my opinion Revelate has the best opening/closing mechanism, easily done with one hand.
-
Dry bag harness – You can buy a system that combines both the harness and the bag, but I just got a simple Sea to Summit dry bag which works great. This bag has all of my clothing, my sleeping bag, and non-snack food.
-
Seat post bag – This carries the bulkier/packable stuff like my tent, sleeping bag, pillow, and jacket. Newer versions of this bag are set up so they don’t waggle side-to-side, which mine will do sometimes when climbing out of the saddle.
Sleeping
-
Sleeping bag – Down is good because it packs down the smallest, but it’s not vegan. My bag is rated to 30 degrees which is fine anywhere that I can bike to from the Bay.
-
Sleeping pad – You have a couple options here. You can go inflatable or with a folding pad. Inflatable pads are more comfortable but in my experience they don’t last more than a year or two without developing a leak (that’s often hard/impossible to find). Folding pads are cheaper and they don’t break.
-
Inflatable pillow – The alternative here is that you can always put a jacket into your stuff sack, as long as it’s not too cold.
-
Tent – I bought my tent before I got really into bikepacking so it’s not perfect. The poles don’t fit in my frame bag, so I end up strapping them to the top tube. If you’re really interested, there are bikepacking specific tents with shorter poles that I’ve heard good things about.

Clothes
-
Buff – Really nice for keeping the sun off your neck.
-
Riding shirts
-
Gloves
-
Arm warmers
-
Sunglasses
-
Riding cap
-
Extra chamois
-
Baselayers (top and bottom)
-
Packlite jacket
-
Warm Jacket
-
Sweatpants
-
Wool cap
-
Extra socks
Food
-
Oatmeal – Always a reliable camping meal. I like to put sugar and salt in the dry oats when I pack it ahead of time.
-
Nut butter – Just to get a little extra fat and savor
-
Raisins and nuts
-
Freeze dried camping meal – Depending on your setup, you can bring more food. But I tend to try to ride pretty light, making backpacking meals ideal.
-
Instant coffee
-
Assorted snacks
-
Nuun electrolyte tablets
-
Flask
Cooking Tools
-
Pocket rocket stove – This is the only stove I’ve ever had and it works great.
-
Fuel & lighter
-
Cooking mug – I’m a big fan of this little guy. It works as a cooking vessel and as a drinking mug. You should get a little silicone cover for the rim, because it’s easy to burn your lips on titanium
-
Spork – It’s a spoon AND A FORK
Toiletries
-
Towel – Camping towels are awesome, even if you bring a small one. I usually keep this handy in case I need to dry something off, like if I have to ford a stream and dry down my feet before putting my shoes back on.
-
Soap/washcloth – You won’t regret it.
-
Whatever you need – I think you can figure this part out on your own.
Bike stuff
-
Navigation computer – I’ve been very happy with the Wahoo Elemnt Bolt. The battery is good enough to last for two long days of riding and the wayfinding is solid. I always load a route ahead of time, but it can also map you to a direction if you have cell service. (It looks like they just came out with a new version that I can’t speak for)
-
Pump
-
Tube(s)
-
Patch kit
-
Multitool
-
Tire levers
-
CO2 kit
-
Chain lube
-
Lights – I plan my trips not to be riding at night, but you never know.
Extras
-
Voile straps – These are a staple of any bikepacker’s setup. You never know when you have to jury rig something or strap something random onto your bike. Last summer we got evacuated by a ranger in Monte Bello Preserve on the Peninsula during the freak thunderstorm that started all the wildfires, and we used a handful of voile straps to lash down the bikes in the back of her pickup truck.
-
Power pack – Unless your bike is fancy enough to have a dynamo charger, you’re probably going to want some extra power. I use this to top off my phone, Wahoo, and lights.
-
Headlamp
-
Camp lamp – This is a luxury, but it’s nice to have a little light at the campsite.
-
Sunscreen
-
Packable backpack – A new addition to the setup (and not pictured above) is a packable backpack. Depending on where we’re staying I’ll use this if we’re stopping at a gas station to get some snacks/beers before riding the last few miles to the campsite. Like with the voile straps, it’s nice to be able to augment your carrying capacity if need be.
It’s a long list, but it should be all you need. Feel free to email me at warren@www.marinbike.org if you have any questions about the list or my set-up.
Stay tuned for another installment on bikepacking where I’ll give you some suggestions for where to go in Marin.
WANT TO PLan your own BikePacking Ride? Check Out the Marin County Bike Map!

Grab yours today from the MCBC Shop!
MEMBERS MAKE IT HAPPEN!
All of the great results you read about above are made possible by you, our members. Not a member? Join Marin County Bicycle Coalition today and enable an even better 2021!